Video editing is often described as a craft of precision. Whether you’re trimming out awkward pauses, removing mistakes, or restructuring an entire sequence, knowing how to split a section of a video is one of the most essential skills you can learn. In DaVinci Resolve, this process is both powerful and flexible, giving you multiple ways to cut footage quickly and accurately. Understanding how to master this simple action can dramatically improve the speed and polish of your edits.
TLDR: Splitting a section of a video in DaVinci Resolve is done primarily using the Blade tool or the keyboard shortcut Ctrl+B (Cmd+B on Mac). You can split clips directly on the timeline, ripple delete sections, and fine-tune cut points for clean transitions. The Edit page offers the most efficient workflow, but the Cut page also supports fast slicing for rapid editing. Mastering clip splitting helps you work faster, cleaner, and more creatively.
Let’s dive into how to split a video section step by step, along with some advanced tips that can elevate your workflow.
Understanding the Timeline in DaVinci Resolve
Before you begin cutting footage, it’s important to understand where the magic happens: the timeline. DaVinci Resolve offers multiple workspaces (called “pages”), but most clipping and splitting occurs inside:
- The Edit Page – Ideal for detailed editing and precision cuts
- The Cut Page – Designed for faster, streamlined editing
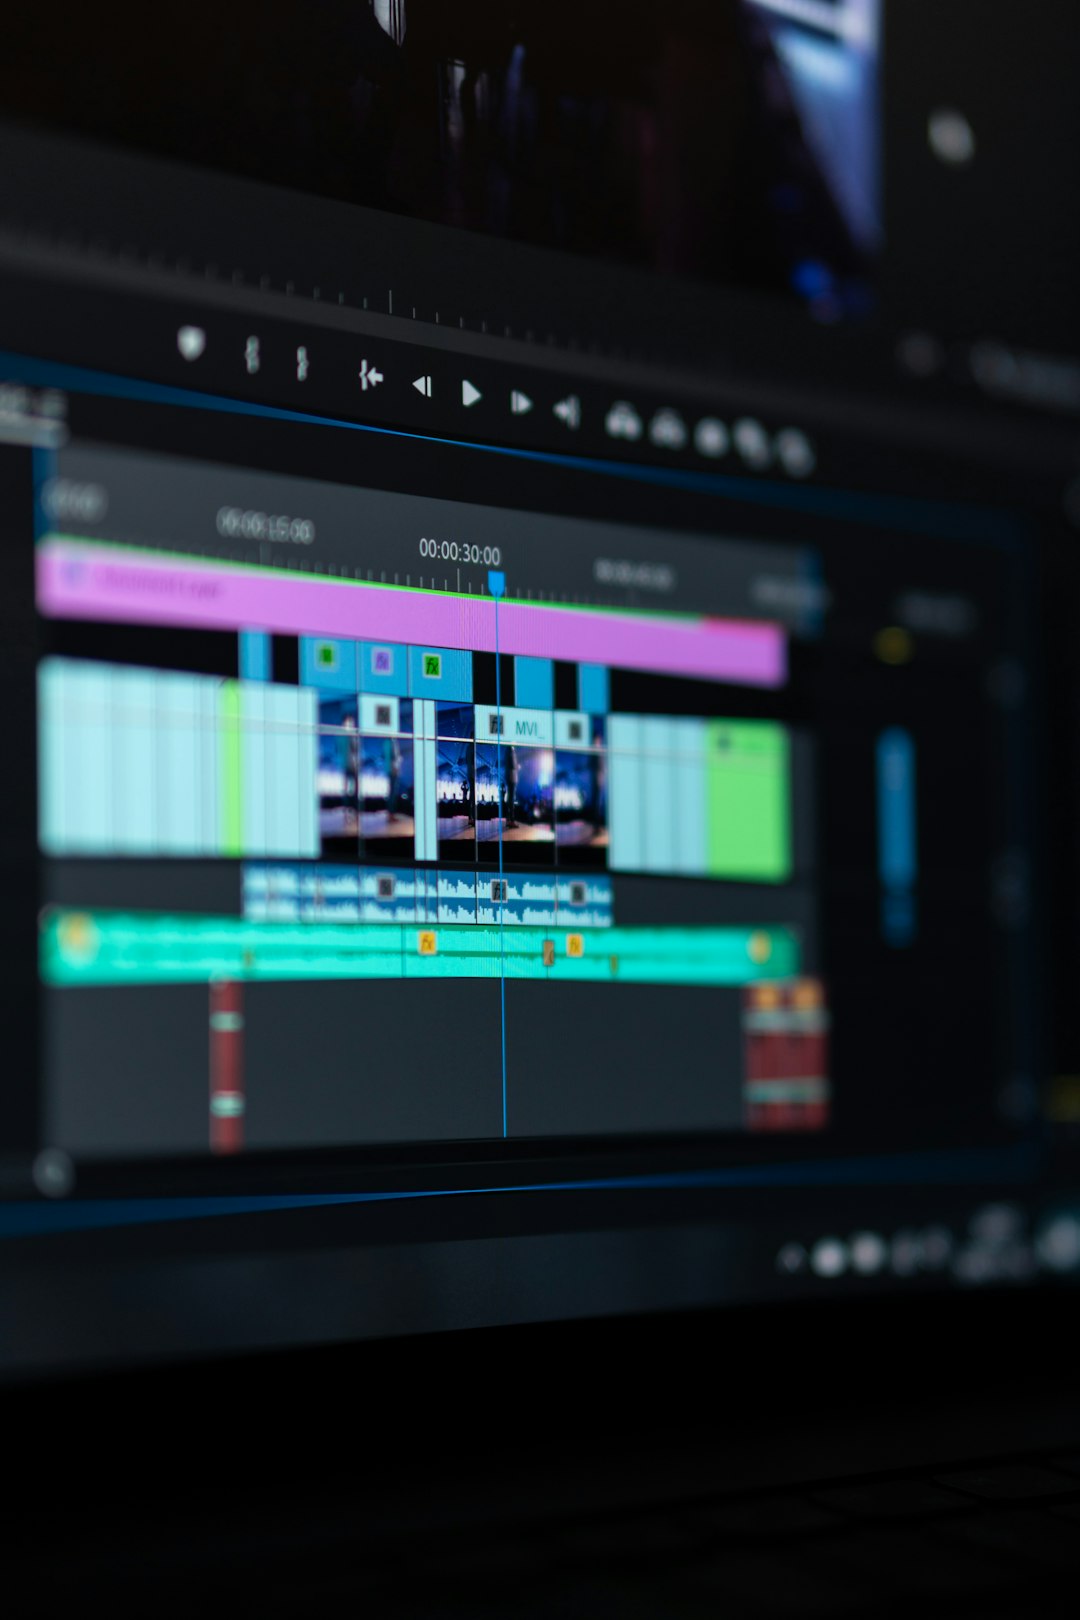
The timeline displays your video and audio tracks arranged horizontally. Each clip placed on the timeline can be trimmed, split, moved, or deleted independently.
Image not found in postmetaMethod 1: Using the Blade Tool
The Blade tool is the most straightforward way to split a video section.
Step-by-Step Guide
- Open your project in DaVinci Resolve.
- Navigate to the Edit page.
- Place your video clip on the timeline.
- Move the playhead to the point where you want to make your cut.
- Select the Blade tool from the toolbar (or press B).
- Click directly on the clip where the playhead is positioned.
This action instantly splits the clip into two separate pieces.
To return to the normal selection tool, simply press A.
When to Use the Blade Tool
- When you want to manually click precise cut points
- When making multiple visual splits rapidly
- When working visually rather than relying on shortcuts
This method is intuitive and especially useful for beginners who prefer mouse-based editing.
Method 2: Using Keyboard Shortcuts (Faster Workflow)
If speed is your priority, keyboard shortcuts are your best friend.
To split a clip at the playhead position:
- Windows: Press Ctrl + B
- Mac: Press Cmd + B
This command cuts through all selected clips at the playhead location.
How It Works
Position your playhead exactly where you want the split. Without selecting the Blade tool, press the keyboard shortcut. The clip instantly divides into two segments.
Pro tip: If you only want to cut a specific clip, make sure it’s selected before using the shortcut.
Why Editors Prefer Shortcuts
- Much faster than switching tools
- Keeps your hands on the keyboard
- Ideal for rhythm-based editing (like music videos)
Over time, this becomes second nature and significantly speeds up your editing process.
Splitting a Specific Section (Removing the Middle Part)
Often, you don’t just want to split once—you want to remove a section in the middle of a clip.
Here’s how:
- Move the playhead to the beginning of the section you want to remove.
- Press Ctrl/Cmd + B.
- Move the playhead to the end of that section.
- Press Ctrl/Cmd + B again.
You now have three segments:
- The beginning
- The unwanted middle
- The ending
Click on the middle section and press Delete.
Ripple Delete Tip: If you want the remaining clips to snap together automatically (closing the gap), use:
- Shift + Delete (Ripple Delete)
This removes the gap and keeps your timeline clean.
Image not found in postmetaUsing the Cut Page for Faster Splitting
DaVinci Resolve’s Cut page is optimized for speed. If you are editing interviews, YouTube content, or event footage, this page can dramatically reduce editing time.
How to Split in the Cut Page
- Position the playhead over the desired cut point.
- Press Ctrl/Cmd + B.
The interface is more streamlined, with larger thumbnails and simplified controls, allowing for rapid trimming and slicing.
This page is particularly useful for:
- Multi-camera edits
- Fast rough cuts
- Quick social media exports
Splitting Audio and Video Separately
Sometimes you may want to split only the audio or only the video portion of a clip.
Step 1: Unlink the Clip
By default, audio and video are linked together. To separate them:
- Right-click the clip
- Select Link Clips (to toggle it off)
Now you can select either the video or audio track independently.
Step 2: Perform the Split
After unlinking:
- Select only the audio or video track.
- Use Ctrl/Cmd + B.
This technique is valuable when:
- Fixing audio timing
- Creating J-cuts and L-cuts
- Adjusting background noise separately
Advanced editors frequently use split edits for smoother storytelling transitions.
Precision Cutting with Zoom and Markers
For highly accurate splits, especially in dialogue-heavy projects, zooming into the timeline is incredibly helpful.
Zooming Into the Timeline
- Use Ctrl/Cmd + + to zoom in
- Use Ctrl/Cmd + − to zoom out
You can also drag the timeline zoom slider for detailed control.
Using Markers for Exact Cut Points
Markers help you plan your edits before making cuts:
- Move the playhead to a key moment
- Press M to place a marker
You can then snap directly to these markers when splitting clips.
This method is extremely effective for:
- Music beat matching
- Dialogue cue points
- Action scene synchronization
Common Mistakes When Splitting Clips
Even though splitting seems simple, there are a few common mistakes beginners make:
1. Not Checking Track Selection
If multiple tracks are armed for editing, you may accidentally slice through every layer. Always confirm which tracks are selected.
2. Forgetting Ripple Delete
Deleting a clip without ripple delete leaves unwanted gaps in the timeline.
3. Cutting Without Zooming In
Rough cuts can leave tiny unwanted frames that cause visible jumps.
4. Accidental Blade Tool Selection
Forgetting to switch back to the selection tool can result in unintended cuts.
A mindful workflow avoids these headaches.
Creative Uses for Split Clips
Splitting footage is not just about removing mistakes. It’s also a creative tool.
You Can:
- Create jump cuts for dynamic pacing
- Insert B-roll between dialogue
- Add transitions between split sections
- Apply different color grades to split segments
- Change speed on a portion of a clip
For example, you might split a clip mid-action and apply slow motion to just that segment. Or you could isolate a small reaction shot for emphasis.
The ability to divide footage into precise sections opens the door to advanced storytelling techniques.
Speed vs Precision: Choosing Your Workflow
DaVinci Resolve gives you multiple cutting options because different projects demand different workflows.
- Fast-paced content: Use keyboard shortcuts and the Cut page.
- Detailed cinematic projects: Use the Edit page with zoom and markers.
- Audio-focused edits: Unlink tracks and cut selectively.
The real power comes from combining these techniques depending on your needs.
Final Thoughts
Learning how to split a section of a video in DaVinci Resolve may seem like a basic editing skill, but it’s foundational to everything else you do. From trimming mistakes to building complex sequences, every polished edit relies on clean, precise cuts.
By mastering the Blade tool, keyboard shortcuts, ripple delete, audio unlinking, and precision zoom techniques, you gain complete control over your timeline. More importantly, you gain the freedom to shape your footage exactly how you envision it.
In video editing, storytelling is built one cut at a time. And in DaVinci Resolve, those cuts are both powerful and beautifully simple to execute.