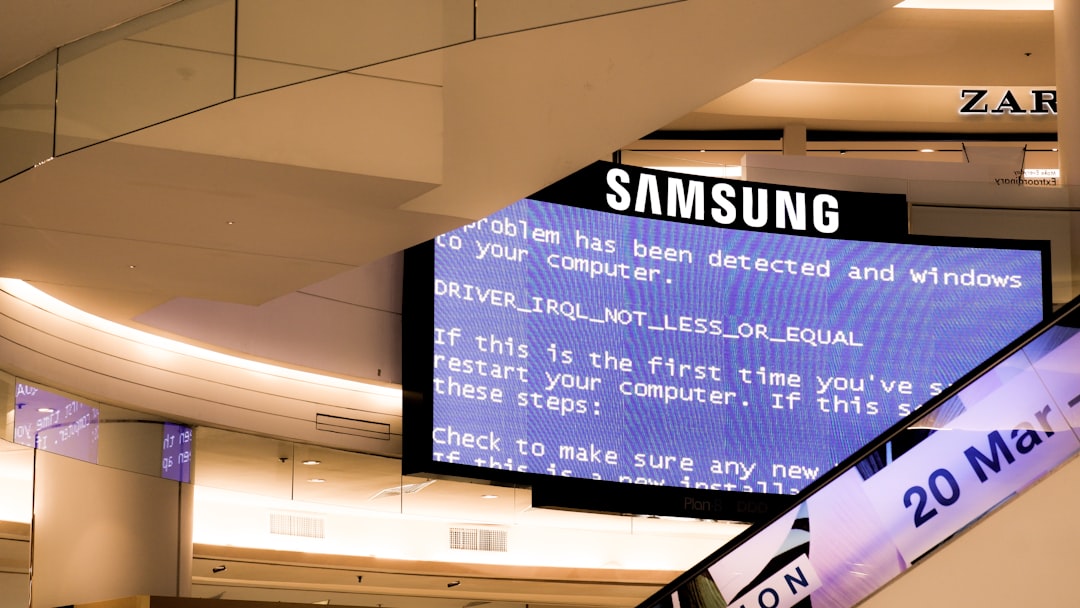
You’re fired up and ready to get to work or dive into your favorite game, and suddenly—your monitor greets you with a cryptic message: “Input Timing Not Supported.” If you’re staring at a black screen with that annoying notification hovering in the corner, you’re not alone. This issue can catch anyone off guard, whether you’re using a multi-monitor setup or just plugged into a new screen.
TL;DR
The “Input Timing Not Supported” error generally happens when your computer sends a display signal your monitor can’t handle—usually due to unsupported resolution or refresh rate. You can try booting into Safe Mode, adjusting your resolution, updating your graphics drivers, or performing a clean boot to isolate software conflicts. Often the fix is simple and doesn’t require buying new hardware. Keep reading to find a solution that works for you!
What Does “Input Timing Not Supported” Actually Mean?
Your monitor and graphics card communicate based on display parameters such as resolution, refresh rate, and timing formats. Think of them as two people trying to speak the same language—when their “dialects” don’t match, confusion arises. When your PC outputs a signal that’s outside of what the monitor can handle, the monitor simply throws this error message.
Common causes include:
- Changing to a resolution your monitor doesn’t support
- Updating or reinstalling drivers that default to high settings
- Connecting a new display with different supported modes
- Errors during boot where the wrong settings are applied

Fix #1: Boot Into Safe Mode
Safe Mode starts Windows with a basic set of drivers and a low screen resolution, often 800×600 or 1024×768, which nearly all monitors can handle. This is your chance to reset display settings to something your monitor likes.
- Turn off your PC.
- Turn it back on and repeatedly press F8 (or hold Shift + F8 on some systems) before Windows loads.
- Select Safe Mode or Safe Mode with Networking.
- Once inside, right-click on the desktop and go to Display Settings.
- Set the resolution to a safe, recommended value—typically 1920×1080 or 1366×768 depending on your monitor.
- Click Apply and let the changes take effect.
Reboot normally and see if the issue persists. If not, congratulations—you’re back in business!
Fix #2: Use Another Monitor Temporarily
If you can’t even get into Safe Mode or don’t see anything on your screen at all, try using another monitor—preferably one with broader resolution support.
Once connected, follow these steps:
- Boot into Windows using the new monitor.
- Right-click the desktop and go to Display Settings.
- Reduce the screen resolution and refresh rate.
- Shut down the PC and reconnect your original monitor.
- Boot it up and check if the issue is resolved.
This method is great for narrowing down problems with resolution vs. a defective monitor.
Fix #3: Update Graphics Drivers
Sometimes your PC is using a default or outdated driver that doesn’t properly communicate with your monitor. Upgrading your video drivers might unlock more compatible settings.
To update your drivers:
- Boot into Safe Mode or use a working monitor.
- Open Device Manager (press Windows + X and choose it from the list).
- Expand Display adapters, right-click your GPU, and select Update driver.
- Choose Search automatically for updated driver software.
- Follow prompts and reboot your system.
You can also visit the GPU manufacturer’s site (NVIDIA, AMD, Intel) and download the latest drivers manually.
Fix #4: Reset the Monitor Settings
It’s easy to overlook the monitor itself. Most displays offer a hardware menu where settings can be reset to factory defaults. If your monitor previously worked fine but started acting up after a cable change or accidental button presses, this can help.
Use the navigation buttons on your monitor to open its menu and look for one of the following:
- Factory Reset
- Reset All Settings
- Default Mode
After resetting, reboot your PC and see if a stable image appears.
Fix #5: Try a Different Cable or Port
Sometimes a faulty or mismatched cable can cause communication issues between your graphics card and monitor. That might manifest as an “Input Timing Not Supported” error, especially when using adapters or long cables.
Here are a few things to try:
- Switch between HDMI, DisplayPort, DVI, or VGA if your devices support it
- Use a different cable
- Check for bent or corroded pins
- Make sure cables are firmly connected
Fix #6: Enter BIOS and Reset Hardware Defaults
In rare cases, particularly with a new GPU or display, your BIOS might be pushing incompatible settings. You can reset these to defaults to clear up any conflicts.
- Restart your computer and press Delete or F2 during boot to enter BIOS.
- Look for an option like Load Optimized Defaults or Reset to Defaults.
- Apply the changes and exit BIOS.
After rebooting, your PC may default to safer display settings, resolving the issue.
Fix #7: Perform a Clean Boot
If your monitor works fine in Safe Mode but not during a normal startup, there may be a software conflict with startup applications or drivers.
You can isolate the issue with a clean boot:
- Press Windows + R, type
msconfig, and hit Enter. - Go to the Services tab, check Hide all Microsoft services, and click Disable all.
- Next, switch to the Startup tab and click Open Task Manager.
- Disable all startup items and restart your computer.
If the error disappears, re-enable services and startup items one by one until you find the culprit.
Still Stuck? Consider Monitor or GPU Compatibility
If you’ve tried all these steps and still face the issue, your monitor might simply not support the output your graphics card is delivering. This is often the case with very old monitors or ultra-modern GPUs that default to high resolutions and refresh rates unsupported by legacy hardware.
In this case, you may want to:
- Use a lower resolution profile when making changes
- Stick with 60Hz refresh rate
- Look for firmware updates for your monitor, if available
As a last resort, replacing the monitor or GPU with a compatible alternative could be necessary, though this is rare for most common setups.
Conclusion
The “Input Timing Not Supported” message isn’t as ominous as it sounds. In most cases, it’s a relatively minor inconvenience caused by mismatched resolution or driver settings. Armed with the tips above, you should be able to restore your display in minutes rather than hours. Remember: your monitor isn’t broken—it just doesn’t understand what it’s being told. Help them speak the same language again, and you’re good to go!